|
By: Paul S Cilwa |
Posted: 8/15/2017 |
|
Page Views: 3,500 |
| Hashtags: #Music #Ripping #Vinyl |
| A quick tutorial on how to rip tracks from your own antique (as well as new audiophile) records. |
| Estimated reading time: 3 minute(s) (635 words) |
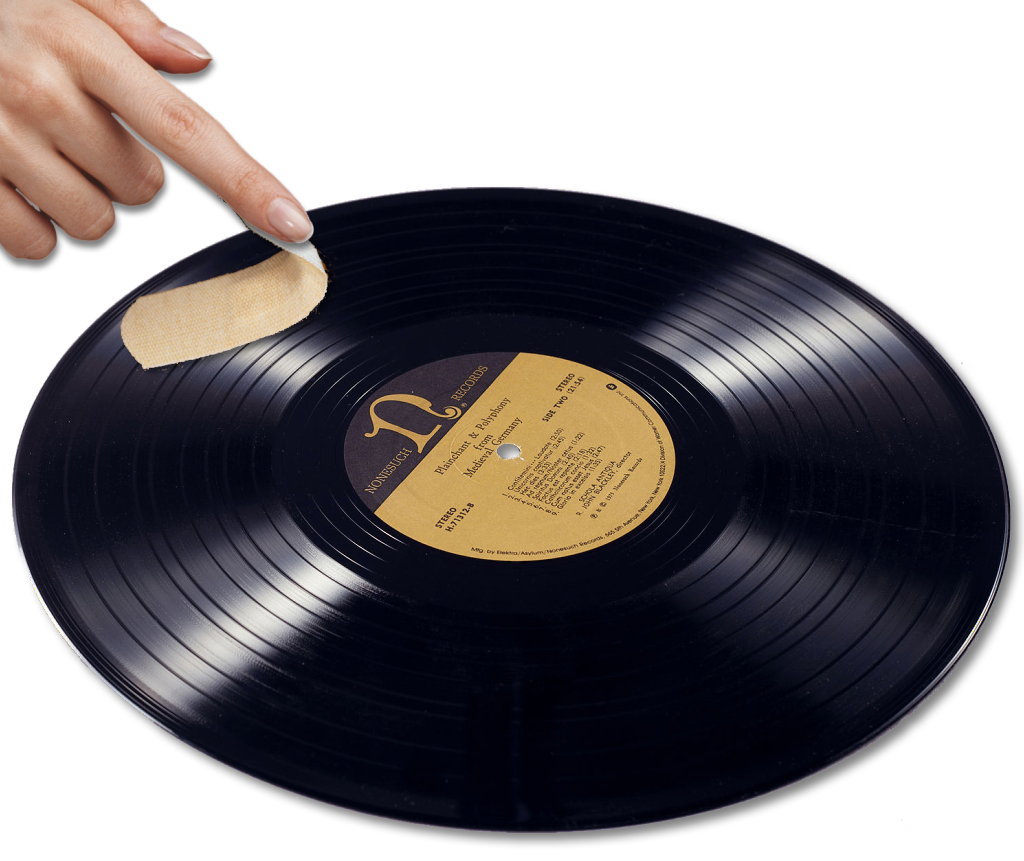
Replace the Albums
This is kind of a no-brainer, but it's worth pointing out that the best quality you can hope for will be
from a CD. If the album you own has been re-released on CD (and so many have), and especially if your
record is worn or scratched, your best bet may well be to simply rebuy it. If you've enjoyed it for the past 30 or 40
years, you could probably admit you've gotten your money's worth, and just replace it with a CD you can then rip
(as previously described).
However, not all albums have been released on CD. If the one you have hasn't been, you'll have to look
further.
Laser Turntable
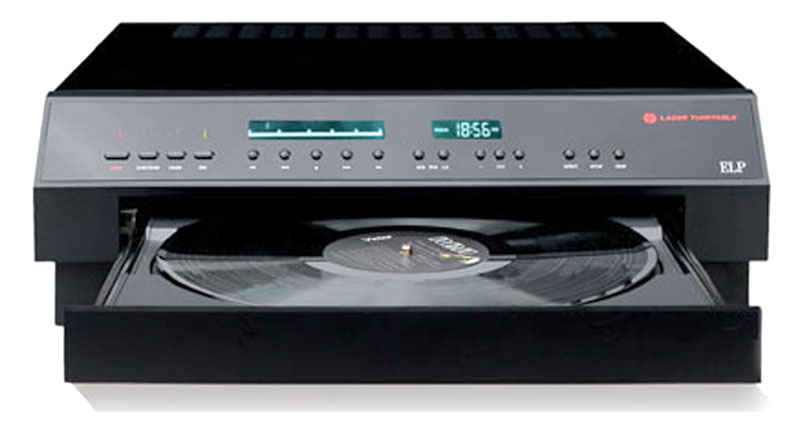
If you've got $15,000 lying around, you can buy a
turntable that uses four laser beams instead of a physical
needle, to read and digitize the grooves. There is no surface noise because nothing touches the surface; and the
lasers can read stereo as well as monaural grooves, and LPs as well as shellac from the 1920s.
In the past few years, a number of CDs have been released on which are tracks from those ancient recordings,
and they sound simply amazing! However, few of us have a spare $15,000, so we'll have to look a bit farther.
Conventional Turntable
Now we're getting to where things are a bit more affordable, although getting clean tracks will be a bit more work.
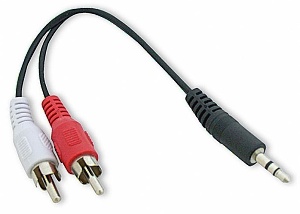
If you still have all your old analog stereo equipment, you're in luck. Plug your turntable into the amplifier's turntable
(magnetic) pre-amp input; get a RCA-to-3.5mm stereo cable (less than $4 at
Amazon);
attach the RCA jacks to the Line Out connectors on your amplifier, and the 3.5mm jack into your computer's
Line In plug.
But then you need software to actually monitor the Line In connector, to digitize whatever sound is
coming through it. (That software typically also allows you to only digitize Line In,
and not any notifications you might get through the computer speakers ("You've got mail!").
But that brings us to a technique that is identical with ripping from tapes. So I'll expand on that in
that section.
USB Turntable
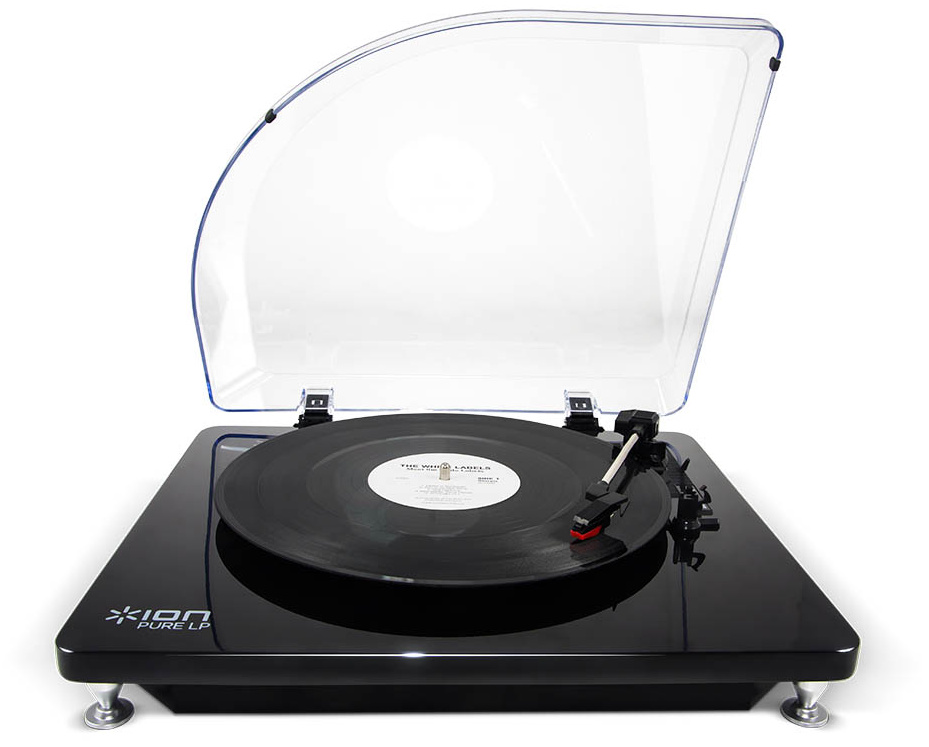
A USB turntable (there are several available) is just like a conventional turntable, except that it plugs directly
into a USB port on your computer, bypassing the need for an amplifier or even pre-amp. Although you don't have to use it,
the turntable comes with bundled software that makes the task of splitting the tracks on each side of the disk easy.
However, actually ripping the disk isn't the whole job. Much of the software bundled with USB
turntables will save only to WAV format. Since that is the least useful (albeit lossless) format out there,
you will almost certainly want to convert to FLAC (also lossless) or MP3 (lossy but smaller-sized files).
And then there are the surface artifacts, the clicks and pops and rumble and any other extraneous
sounds that are part of the record, not the music. A lot of this can be removed by a good audio editor (like
Audacity). In fact, a good audio editor can also accomplish the conversion to your desired
digital audio format.
But because those are distinct steps, I will write about them on separate pages.
Ripping from an Ion USB Turntable
|
By: Paul S Cilwa |
Posted: 9/2/2017 |
|
Page Views: 3,058 |
| Hashtags: #Music #Ripping |
| How to extract the audio data from a vinyl or shellac disk with a USB turntable. |
| Estimated reading time: 3 minute(s) (624 words) |

I happen to own an Ion PureLP USB turntable. So can you;
Amazon
sells them for under $95 (as of this posting). The Ion, despite its name, also plays 45s and 78s.
Mine came with bundled software, an app called EZ Vinyl/Tape Converter. However, for this post,
I went to Ion's web site and downloaded and installed the latest version.
Removing Surface Noise From Vinyl And Shellac
|
By: Paul S Cilwa |
Posted: 9/2/2017 |
|
Page Views: 3,891 |
| Hashtags: #Music #Ripping |
| How to remove extraneous ticks, pops, and rumble from the audio data from a vinyl or shellac disk. |
| Estimated reading time: 6 minute(s) (1203 words) |

The trickiest thing about Audacity is that it thinks in terms of Projects, while you are more likely
to think in terms of the digital audio file you are working with. Just remember that a Project can be composed
of several, not just one, audio files. So you create a Project (either explicitly or by simply starting the app)
and then import audio files into it (again, either explicitly or by simply dragging one onto the app). When
you are done with your edits, you then export the audio into a new file (or over the original).